Submitting Written Assignments
Follow this procedure:
- Copy the questions or other required materials from the
assignment page into a Word document
- Answer
the questions or do the assigned work, writing with proper citations*
- Format
the document according to the prescribed style*
*Most Bible and General Studies courses require MLA Style. Some business courses require APA style, since that is the style common to those fields.
- Save
the document. It must be in Microsoft Word (2000/XP/2003) format. It should
have a ".doc" suffix. If you are using
Office 2007, please do not save in the default ".docx" format. Although most assignments
will be in Microsoft Word, some work requires Microsoft PowerPoint or
Microsoft Excel. These files should also be save in the 97-2003 format.
|
Office Program |
Acceptable Format |
Unacceptable Format |
|
Microsoft
Word |
.doc |
.docx |
|
Microsoft
PowerPoint |
.ppt |
.pptx |
|
Microsoft
Excel |
.xls |
.xlsx |
- Go
back to the assignment page and scroll down to the bottom to see the
upload option. Take note that the assignment due date is indicated (shown at A below) and that the maximum file
size is indicated (shown at B below).
If a file will not upload properly, check to see that it is not larger
than the maximum allowed size--right-click on the file and choose
"Properties."

- Click
on "Browse" (shown at C above).
This will bring up a dialog box showing files on the computer being used.
It will look something like this.

- Navigate
to the assignment file on the hard drive and select it.
- Click
on the "Open" button.
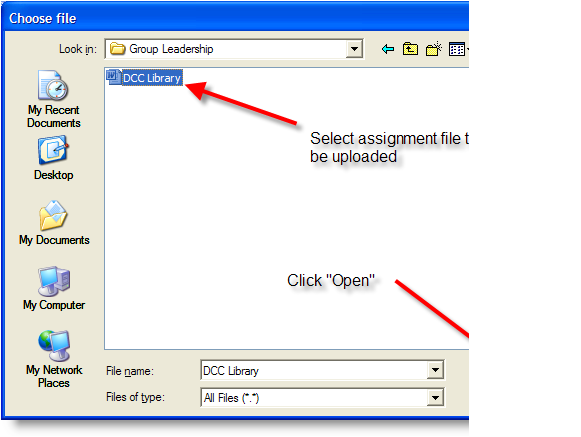
- The
"Choose file" dialog box will disappear and the previous screen
will appear with the name of the selected file (along with the file path
on the computer) in the text box beside the "Browse" button (shown at A below).
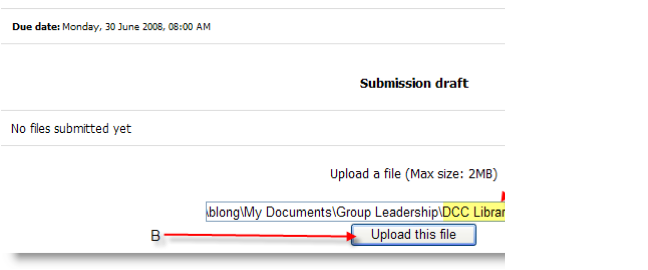
- Now
the student simply clicks "Upload this file" (shown at B above) and the file is uploaded to
the course site.
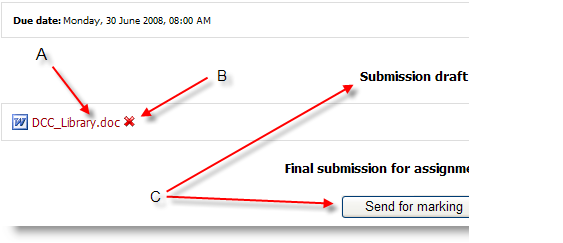
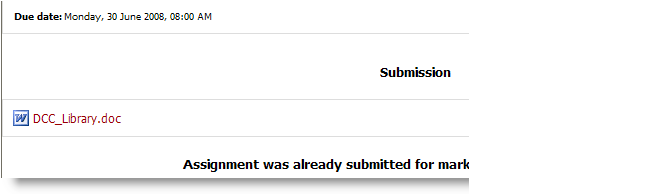
- The
file appears on the class site (shown
at A below), confirming it was uploaded successfully (no need to
email to confirm that the instructor received it). Clicking on the file
name will open the copy that is uploaded to the site.
- At
this point, the submitted file is considered a "Draft
submission." The student still has the ability to delete the file and
upload a revised version. Clicking the red "X"
(shown at B below)
will remove the file from the class site. This allows a student to retract
the file, revise it, and resubmit it before the due date.
- Click
"Send for marking" (shown
at C below) to finalize the submission and remove the draft
status.
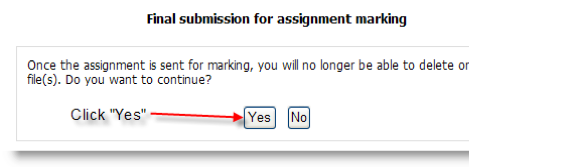
- Click
"Send for marking" to finalize the submission.
- Moodle
warns the student that the assignment cannot be changed after it is sent
for marking. Click "Yes."
- Now
Moodle indicates the submission is final. Note the red "X" is gone.
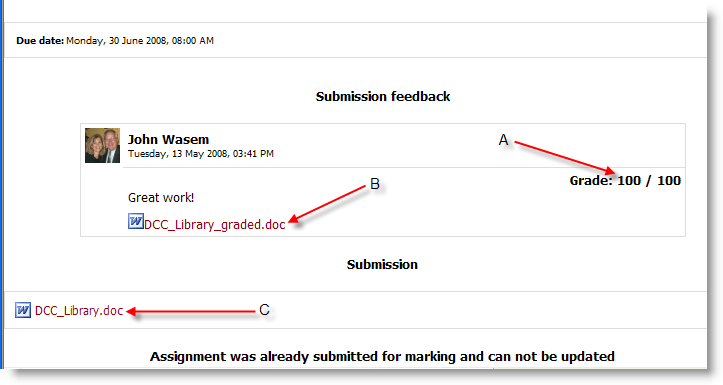
- After
the instructor grades the work the student will be able to return to the
assignment page to see a grade (shown
at A below) and can click the link (shown at B below) to download the work with the
instructor's comments. The original submission remains on the site (shown at C below).
18.
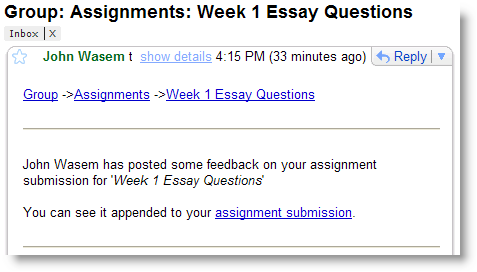
Students
will also receive an email from the instructor notifying them that the work has
been graded along with a link to see the results. It will look something like
the screenshot below (depends on the email client).
19. If there is no email alert concerning the graded assignment, then there is a problem that should be resolved with the steps below or reported to technical support.
o Verify the email address is correct in the student Profile.
o While in the student Profile in Moodle, note that the selection beside "Email is activated" says "This email address is enabled."
o Check to be certain the email client is not filtering out email from dallas.edu.